
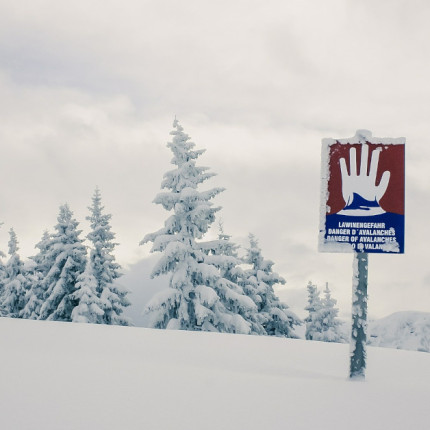
Focus on... mountain safety!
Winter has arrived and the snow is starting to fall. It's time to go riding!
But before you do... how about talking about your safety in the mountains? Going skiing, especially off-piste, requires good preparation and, above all, the right equipment.
How do you stay safe in the mountains?
ANENA (Association Nationale pour l'Étude de la Neige et des Avalanches), has counted 46 avalanche accidents including 12 deaths for the 2019/2020 season.
Unfortunately, when an avalanche occurs and a skier is swept away, it is important to act quickly. Of course, you have to call for help, but you also have to organise help on the spot quickly to increase the chances of survival. It's in these situations that every minute counts.
According to ANENA, everything depends on the first quarter of an hour. After that, the chance of survival diminishes considerably.
Time is broken down into three phases:
- 0-18 min: the probability of survival is 90% if the burial lasts less than 18 minutes.
- 18-130 minutes: chances of survival fall rapidly to 25%
- More than 130 minutes: less than 10% chance of survival
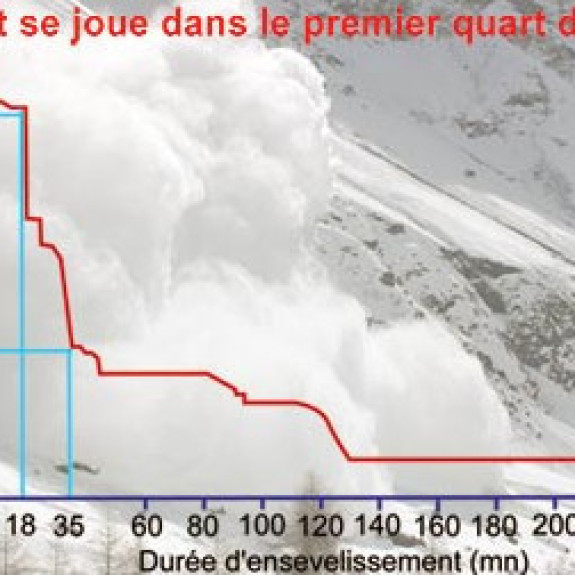
Source : ANENA
The three main causes of death in avalanches are :
- polytrauma: linked to numerous vital injuries,
- asphyxia: no air supply, compression of the thorax due to the weight of the snow. 80% of deaths are due to asphyxia.
- hypothermia: when body temperature is too low. However, hypothermia can be very difficult to characterize: between 28 and 32°C, the victim may be in a coma and still be able to breathe.
To reduce the risks and be ready to intervene in the event of an accident, you need to be very well equipped for your outings, so you can react quickly and effectively.
If you have witnessed an avalanche and contacted the emergency services, you need to act quickly when dealing with the victims:
- Bring them into contact with air
- Handle with care
- Isolate them from the snow
- Do not stand them up, do not give them anything to drink
- Keep their head in line with their spine, and place them in the lateral position of safety (PLS) if they are unconscious
- Perform external cardiac massage (combined with artificial ventilation if available) if the victim is no longer breathing
Because we at Speck-Sports are passionate about skiing, it's important for us to talk to you about safety in the mountains , and to present you with the essential equipment you need to have in your bag for your freeride or ski touring outings.
Our first piece of advice for off-piste skiing: analyze and prepare! It's important to study the weather conditions, assess the avalanche risk in the area concerned, and ascertain the level of each member of the group. A beginner skier will not have the same reflexes and reactions as an experienced skier. Make sure your equipment is working properly before setting off, and know how it works to save time in the event of an accident.
What equipment should I use? A transceiver, a shovel and a probe! When you know that the first 15 minutes are the most important, and that on average it takes 11 minutes to find an avalanche victim using these 3 pieces of equipment, compared with 25 minutes with a transceiver and a shovel, and 1 hour with a transceiver alone... The question may no longer arise: this equipment is ESSENTIAL to guarantee your safety in the mountains.

What equipment should you use for mountain safety?
Initially known as the ARVA (appareil de recherche des victimes d'avalanche), which has now become a brand name, the DVA is an avalanche victim detector.
The first French avalanche transceiver appeared in 1985 and was analogue only, with no screen and a range of around twenty metres.
Here's how an analogue avalanche transceiver works: the transmitter signal is converted by the receiver into sound waves. When a receiving avalanche trans ceiver picks up a transmitting avalanche transceiver, it emits a 'beep' that gets louder and louder the closer they get to each other, or as soon as they are properly aligned with each other. A potentiometer is used to vary the sound intensity of the signal, by adjusting the sensitivity of the receiver. However, using an analogue avalanche transceiver could prove complex for novices.
Subsequently, the models have diversified and evolved. In 1998, they introduced the first digital avalanche transceiver, rather than an analogue one. This was a major advance, making avalanche transceivers more accessible and easier to use.
The transmitting avalanche transceiver is analysed by a microprocessor which converts the information as follows:
- progress indication, with numerical data appearing on the screen
- direction indication, with a diode or arrow that lights up when the receiver DVA is correctly oriented in relation to the transmitter DVA.
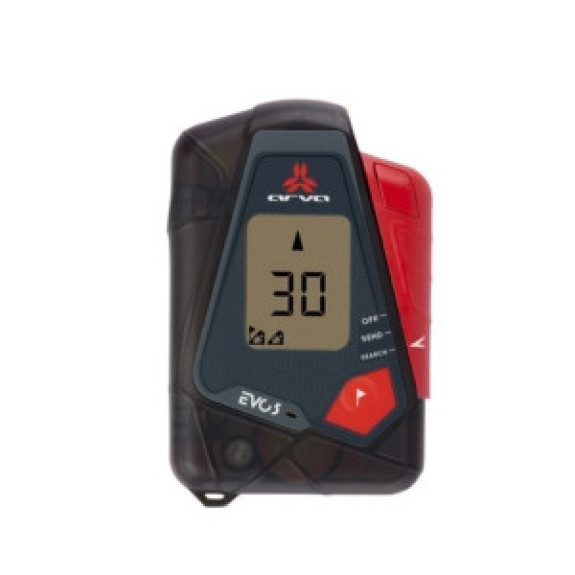
DVA - avalanche victim detector
How do I use an avalanche transceiver?
First and foremost, you should test your avalanche transceiver before setting off. In the event of an accident, and with the stress involved, you could get lost in its use and slow down your search.
Do you have a DVA? Practise using it. The better you know how to use it, the quicker you'll be able to intervene in the event of an avalanche.
A few tips:
- Wearing your avalanche transceiver: avoid putting it just under your jacket, as in the event of an avalanche it could be ripped off if your jacket was open or if you had taken it off.
Take a shovel and snow probe with you: remember that minutes are counted... Clearing an avalanche by hand can take at least 45 minutes! - Don't forget the batteries: make sure they are charged and not worn out or only slightly
- Know when to give up... The avalanche transceiver certainly increases the chances of survival, but it is not a magic device that prevents avalanches or guarantees 100% survival. If you think it's dangerous: don't go!
- Before you set off: check your avalanche transceiver, make sure it works properly and is in good working order. You can have your avalanche transceiver checked by professionals
Whether you're snowboarding, ski touring, monoskiing or snowshoeing, as long as you're off the marked and open pistes, you should be equipped with an avalanche transceiver.
Snow probes
What is a snow probe used for? This equipment is used to search for and locate avalanche victims. Combined with the avalanche transceiver, the probe will increase your chances of finding the victims more quickly.
There are several types of snow probe, most of which are made of aluminium because it is stronger, or carbon because it is lighter.
A snow probe should be at least 2m long. Generally speaking, the standard length for the general public is 2.4m. Rescuers use probes measuring between 2.80m and 3.2m.
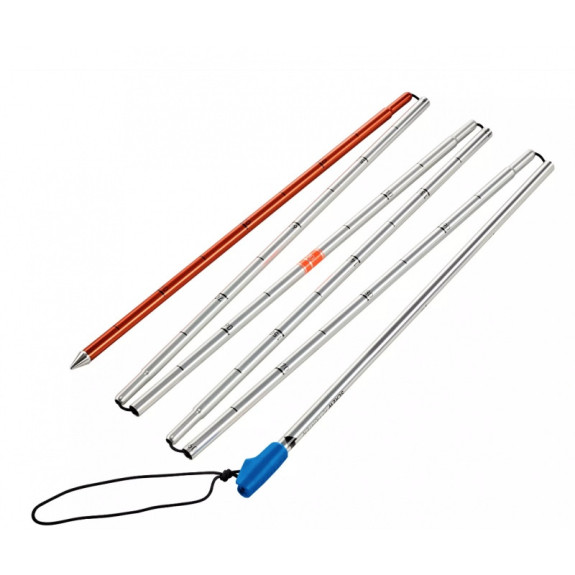
How do I use a snow probe?
Once you have located the victim with your avalanche transceiver, you can start probing. Remember to keep your hands in your gloves to keep them warm, but also to warm your probe. If it freezes, it will be unusable.
Hold the probe at a right angle to the surface of the snow and when planting it, make sure you are as close as possible to the signal from the avalanche transceiver. Have you located the victim? Then leave the probe in place, it will serve as a reference point, which will be essential in the event of snow or wind.
Can't locate an avalanche victim? Then plant your snow probe about 1m from the nearest point of the avalanche beacon.
The snow shovel
The snow shovel is the 3rd essential element of your freeride outings, along with the avalanche transceiver and the probe.
The bucket and handle of this mountain safety accessory are made from carbon, polycarbonate or aluminium. The first two are lighter, but the aluminium shovel is more effective when the snow is more compact and harder.
Some models of snow shovel are telescopic. These are more compact and therefore take up less space in your bag, but they can also be more effective for shovelling. Other models offer a pick position, which can be more effective when you need to free an avalanche victim.
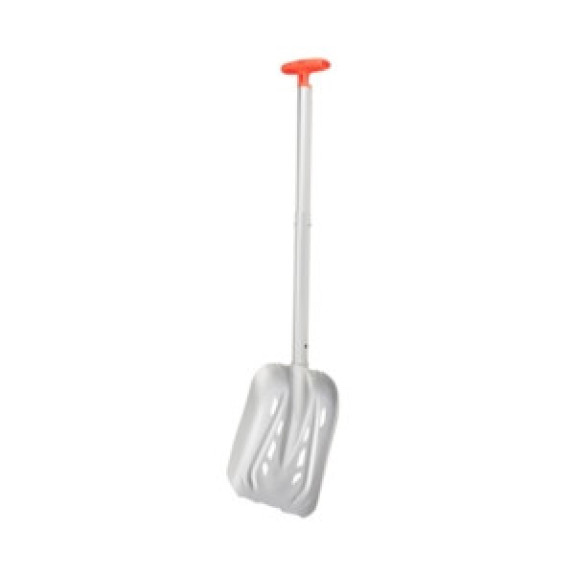
How do I use a snow shovel?
Once you've located the victim using your avalanche transceiver and snow probe, start shovelling in a V-shape. To avoid the snow falling back into the hole you've dug, you need to remove the snow either towards the back or down the slope.
Remember to take turns if there are several of you searching, so as not to lose intensity and efficiency.
Since 2009, Helinox has been offering lightweight, hard-wearing products with a focus on sleek design that matches your style.
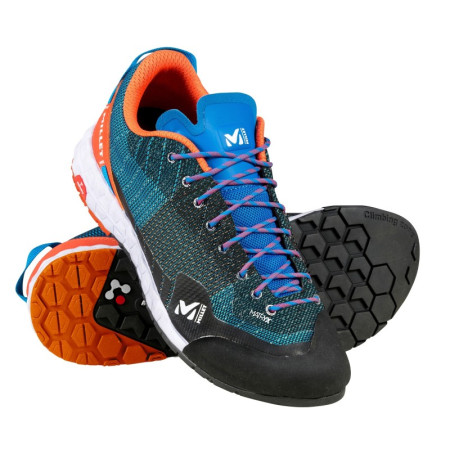
Discover the lightness, comfort and efficiency of Millet's Amuri approach boots!
Explore Thailand's breathtaking scenery and fascinating culture in our blog post.
Discover Rossignol's new exclusive Black Ops collection, available from Speck-Sports!